Planning an event involves many factors and considerations. Ensuring a smooth and organized registration experience is essential for effective event planning. Whether you plan a corporate conference, workshop, or social meeting, creating an effective registration form helps you to reach high attendance, streamline management tasks, and elevate the overall event experience.
Reading this article will help you to learn more about registration forms and their benefits. You will discover an easy guide to creating an online registration form with the Google Forms platform and more. It will help your business with event planning, following attendance, and managing resources effectively.
A registration form is an online form used to gather important details from individuals signing up for an event, program, service, or membership.
These forms often include fields for attendance information, contact details, preferences, and other relevant data. They serve as a valuable resource for businesses to manage attendance, communicate effectively, and strengthen customer experience. Creating proper registration forms helps you collect all necessary information in an organized way.
Now you know what a registration form is, we suggest you find out for what purpose businesses can use it. Registration forms help businesses in various aspects, such as operations, marketing, and customer engagement. You can discover more ways and details below:

When to use a registration form
Registration forms are helpful for businesses as they make the sign-up process easier, provide organized data collection, and help tailor offerings to participants' needs. Now, you can check some valuable benefits below:
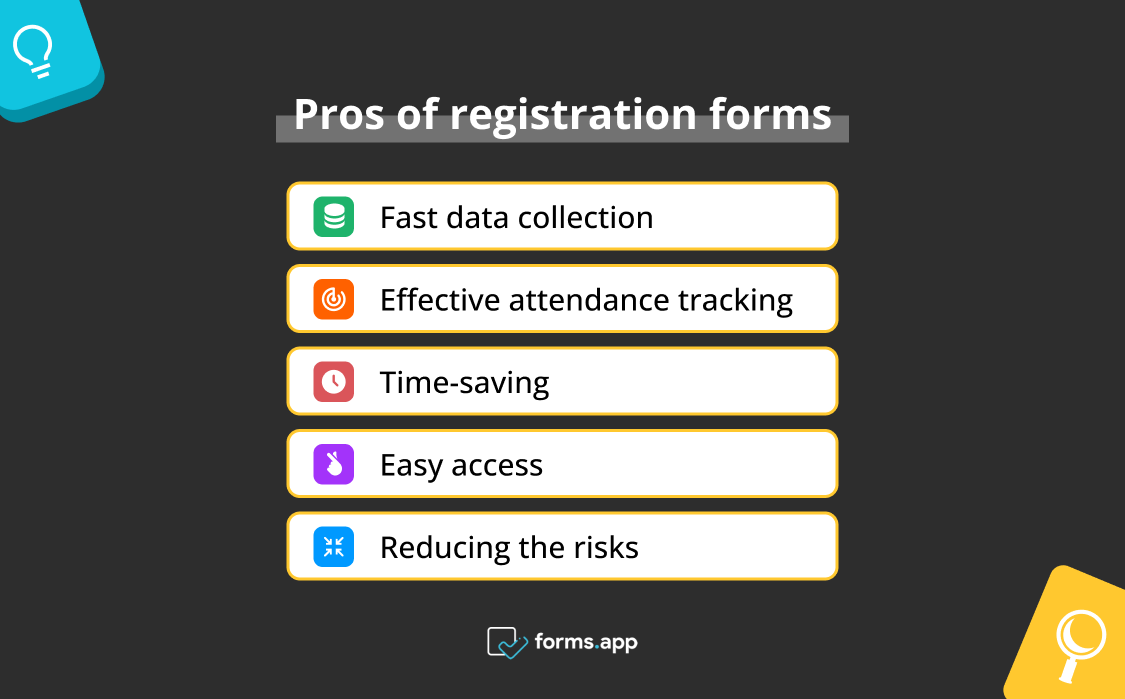
Benefits of registration forms
Google Forms provides a user-friendly platform for different needs. In this guide, we'll walk you through 6 easy steps to help you create a Google registration form that suits your purposes, making the process simple and organized.
Log in to your Google Account and go to Google Forms. If you don't have an account, you can easily create one.
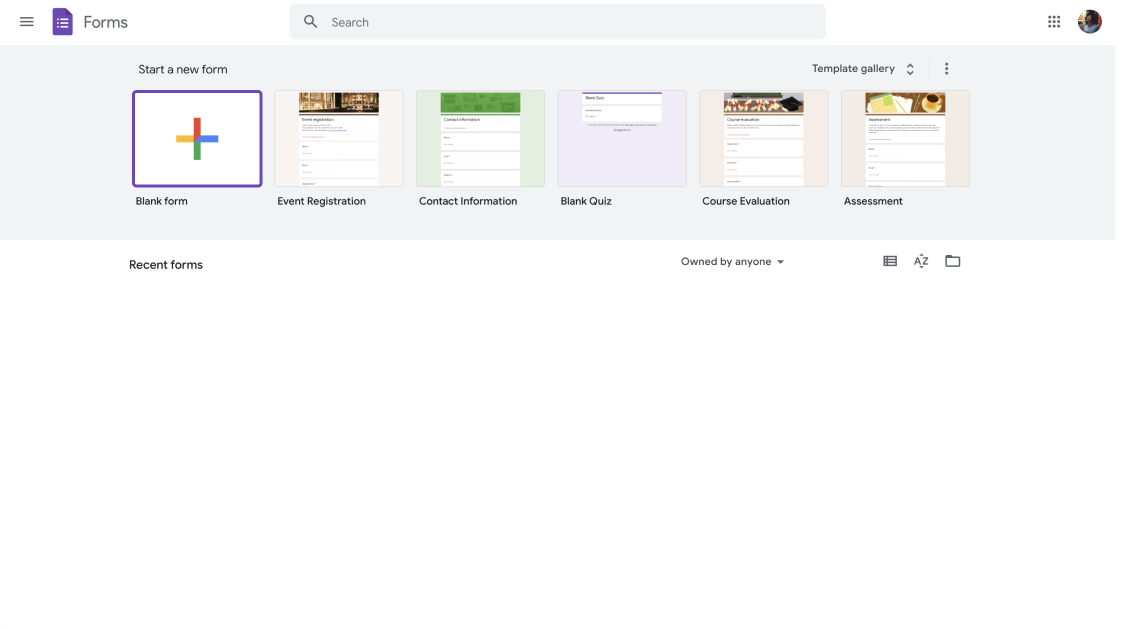
Open Google Forms
Google Forms offers many templates for your business. If you are looking for a particular Google form template for registration, the platform offers a specific Event Registration Template. You can easily find it in the Template Gallery. Alternatively, you can always start with a blank form that you can modify later.
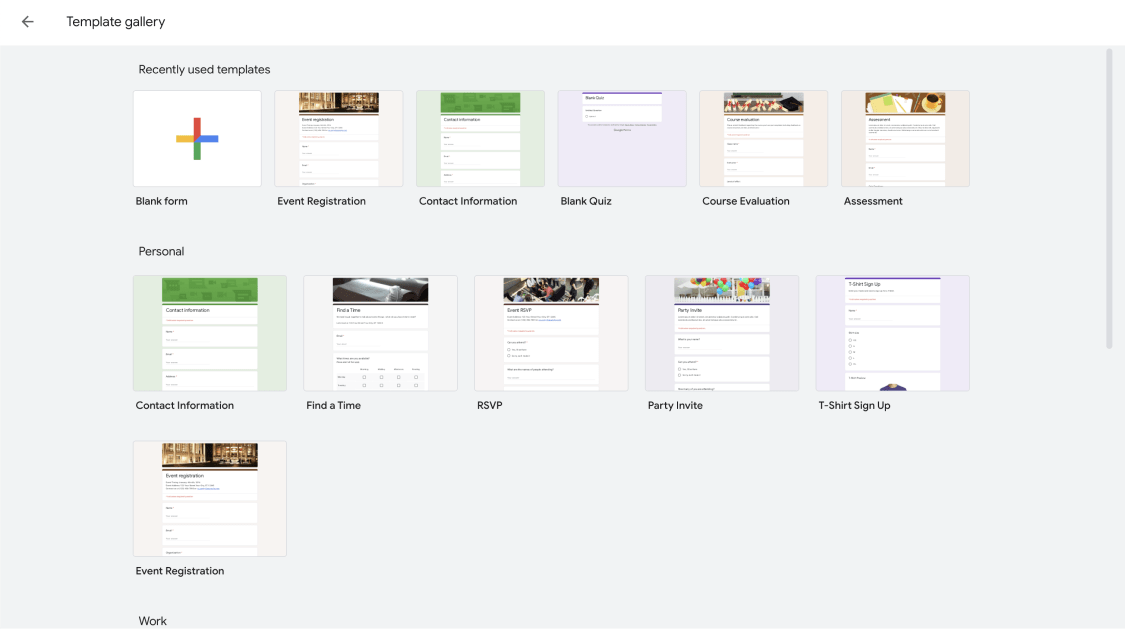
Choose a template
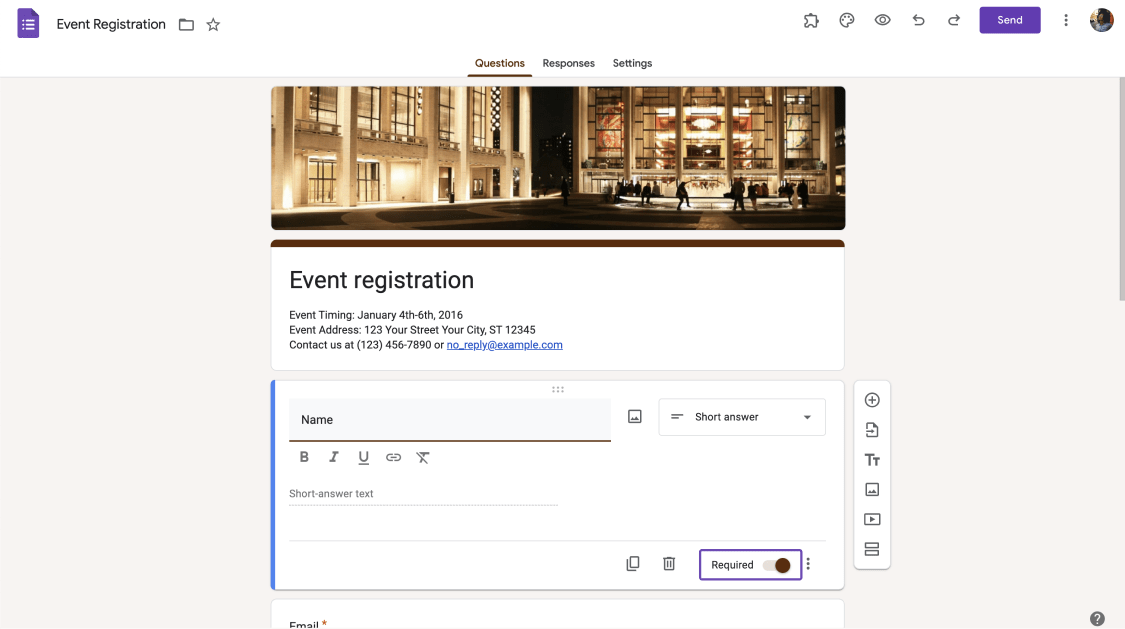
Add a particular title and description to match your registration needs. Fill your form with questions relevant to your event. Participants will not miss essential fields if the Required toggle at the bottom right of each question is on.
💡You can use Short answer for fields like name or contact details and Multiple choice questions for event preferences or suggestions.

Choose a template
Activate response validation by clicking on the three vertical dots in the bottom-right corner of each question. You will see it right next to the Required toggle. By doing this, you make sure that the data you receive is accurate and meaningful.
Set up response validation
In this step, you have the option to customize the appearance of your form for a more personalized touch. Click on the Customize Theme icon to adjust various elements, such as the head image, theme color, and font style.
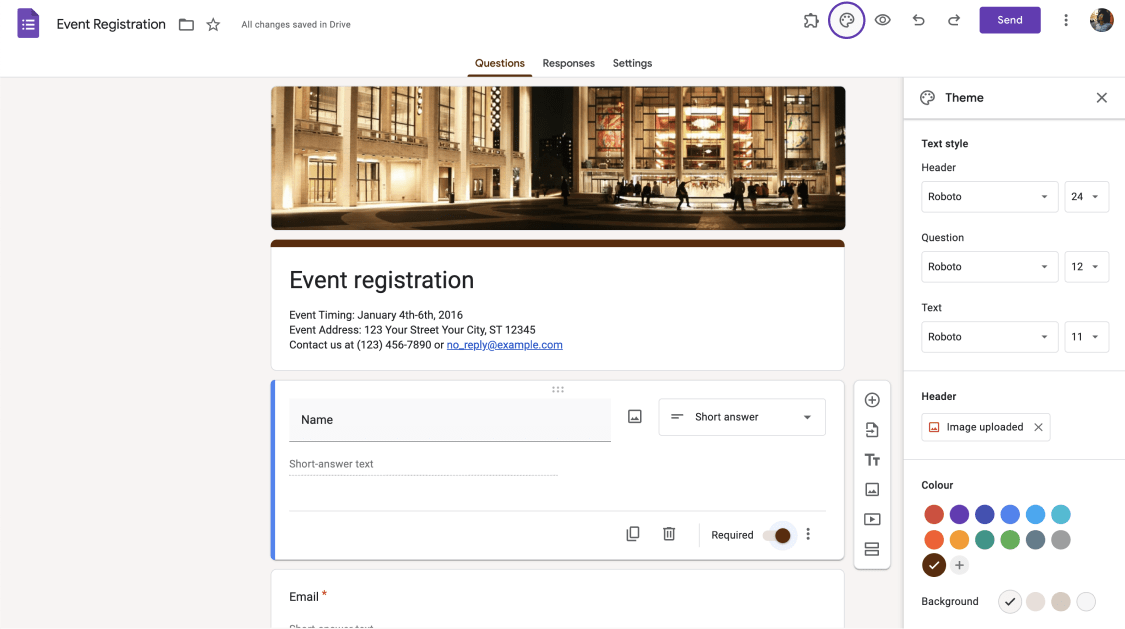
Choose a theme for your form
Once you finish customizing, preview your form by clicking the eye icon at the top to ensure it looks as planned. After that, click on the Send button to share your form. Choose from various sharing methods such as email sharing, direct links, embedding on your website, or social media platforms.

Now you have learned how to create a Google form for registration, and it is time to create your own registration forms. In exploring alternatives to Google Forms, forms.app is a worthy option. forms.app offers a massive set of features, an array of templates, and AI-powered options to address your particular requirements.
The customization options on Google Forms are quite limited. In contrast, forms.app provides a platform where you can create a successful registration form with advanced features and more choices. This platform’s rich library has many excellent registration form templates for your business needs.
You can start crafting your online registration form today with forms.app. If you decide to use this tool, we suggest you take a look at our simple guide:
To start you need to log in on forms.app. If you do not have an account, you can easily create your account for free.
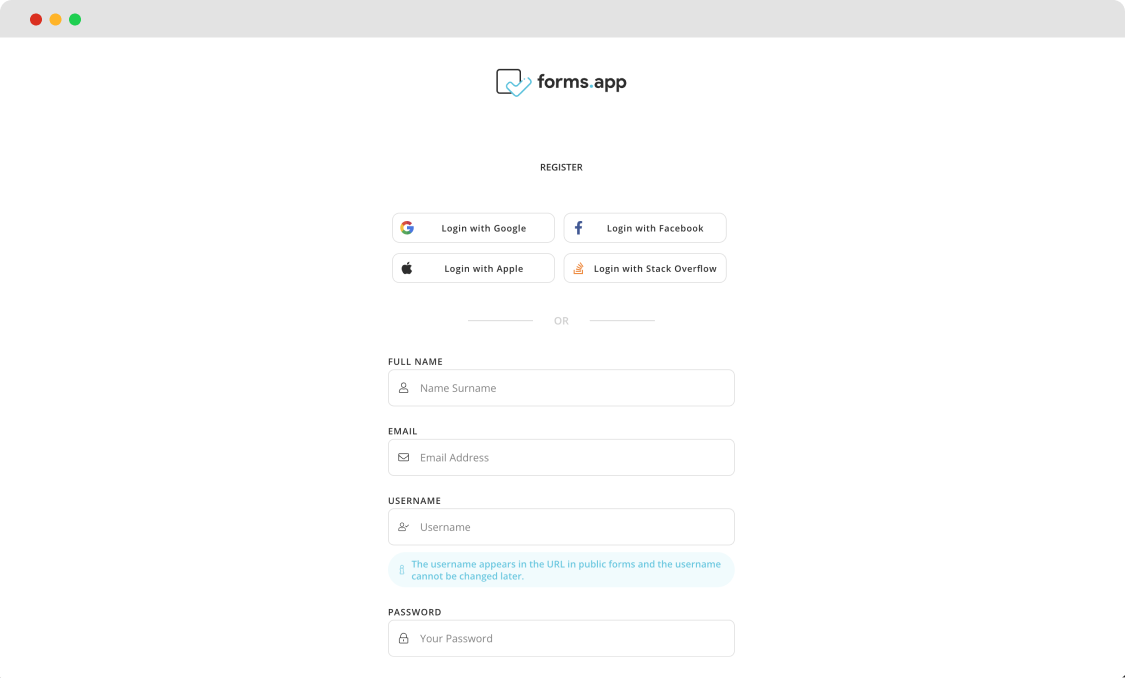
Creating a forms.app account
Click the Use Template button for the suitable template, or start from scratch with a blank page. Also, if you want to create your registration form in seconds, you can generate it with AI.
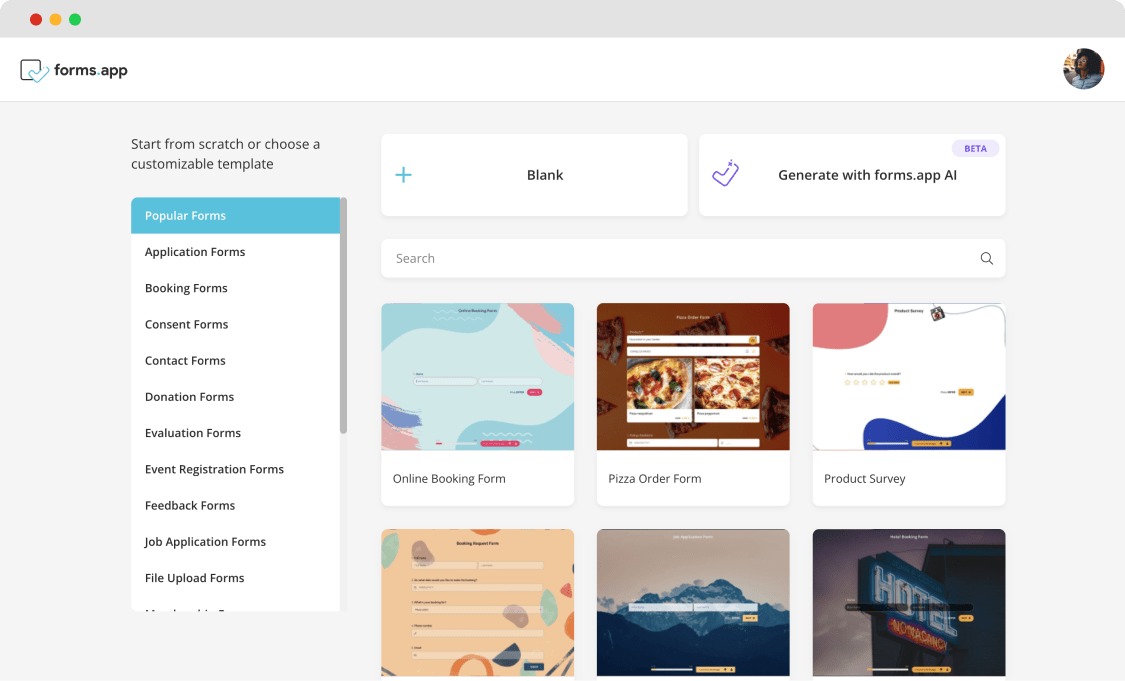
Choosing a starting option
Add new form fields or modify existing ones to improve the form to your specific requirements. You can also switch to the 'Design' tab to customize the appearance of your registration form. Discover the 'Customize' tab to personalize design elements like colors, form titles, and fonts.
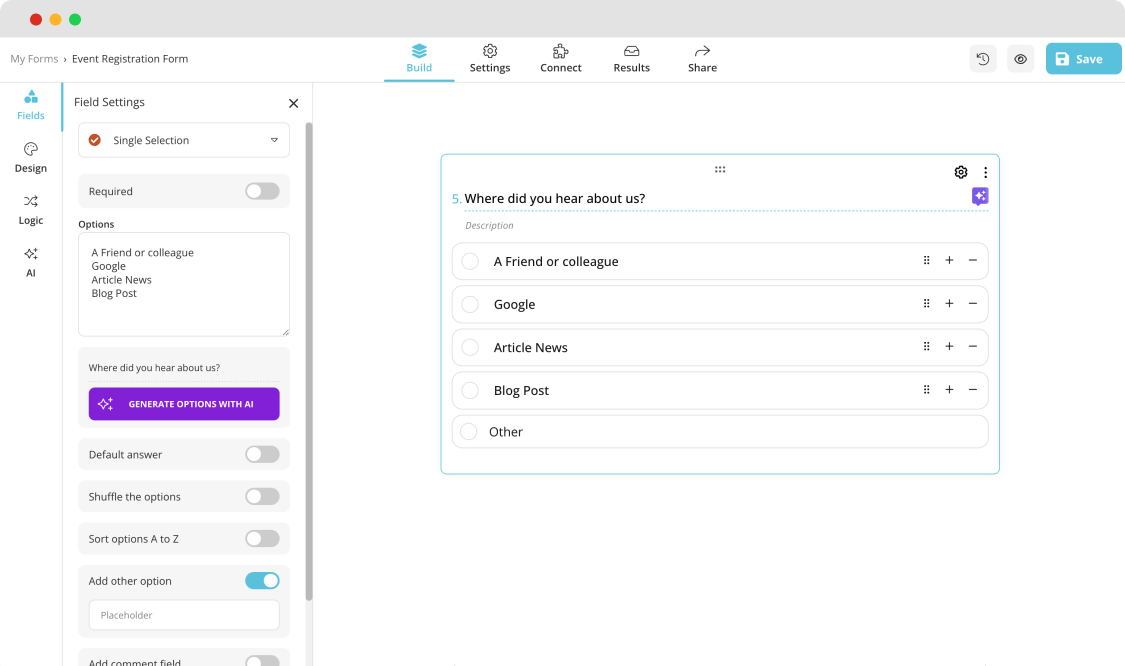
Adding questions and fields to your registration form
💡For users familiar with CSS, use the 'Custom CSS' tab to write code and raise your form's design to a higher level.
Once you have customized your form, adjust general settings, including notifications. It will give you a guarantee that all functions work properly.
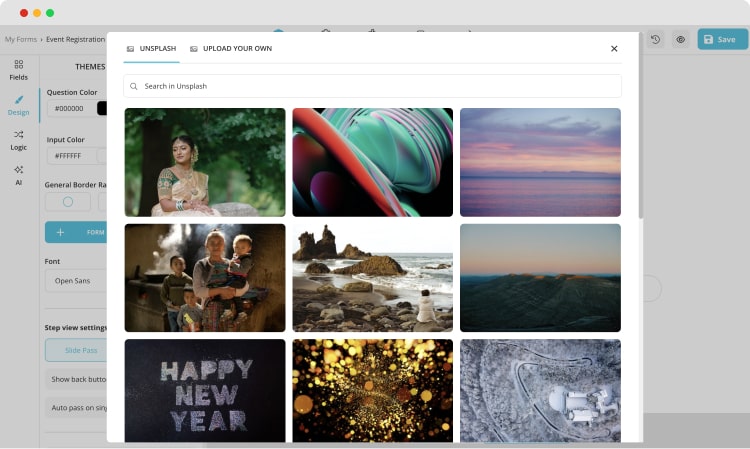
Customizing the design of your registration form
Before publishing, preview your form to ensure everything looks as expected. Publish your registration form on forms.app or generate a unique QR code for easy integration on your website.

Choosing a sharing option for your registration form
In summary, creating successful registration forms is crucial for effective event planning and business solutions. Registration forms offer a range of benefits, such as fast data collection, attendance tracking, and easy participant access. Using such forms in your company's system will simplify many projects and complications you are dealing with.
After reading this article, you learned about what the registration form is and for what purposes it can be helpful to your business. Also, the article has highlighted the most valuable benefits of registration forms. After exploring our simple 6-step guide, you are ready to build a unique registration form using the Google Forms platform or an alternative forms.app tool.
Yakup AhenpençeYakup is a content writer at forms.app. He is also a skilled translator. His hobbies include reading, learning about different languages, and different branches of sports. Yakup's expertise lies in translation, NoCode tools, and Google Forms.